|
Written by: Ronnel DG Last updated: 03 Oct., 2025 |

B12 specializes in websites and service-based tools like scheduling, payments, and invoicing.
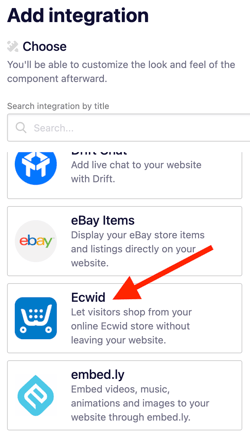
If your business needs a full online store with features such as a shopping cart, shipping calculator, and inventory management, we recommend integrating your site with Ecwid by Lightspeed.
Ecwid lets you create an online store, process payments, and embed your store directly into your B12 website.
Creating your Ecwid account
1. Go to ecwid.com and click Get started.
2. When asked if you already have a website, select Yes.
3. For Platform, choose Other — please specify, then enter B12.
4. Once your account is created, Ecwid will guide you through store setup. You can follow Ecwid’s guide to learn how to:
- sign up
- add and organize products
- set up a web address
- personalize store design
- add business information
- enable payment
- set up shipping and pickup
- check the store before launching
- go live
Embedding Ecwid on your B12 website
1. Follow Ecwid’s guide to finding your embed code.
2. Copy the code provided.
3. In your B12 Editor, go to ![]() Website
Website![]() Pages
Pages
4. Select the page where you want to add your embedded content. Click Add section.
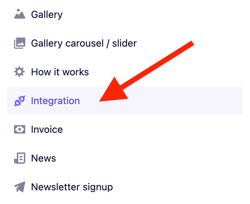
5. From the list of section types, click Integration.
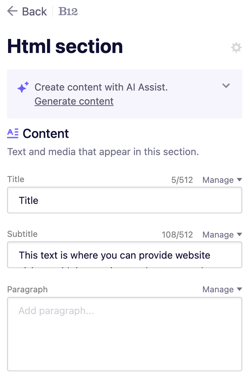
7. Paste or write your code into the code box, then click Add integration.

8. Customize or remove the placeholder text in your new integration section.
9. Click Preview or Publish to check your integration live on your site.
Your Ecwid store will now appear directly on your B12 website, allowing customers to browse and buy without leaving your site.