|
|

Password protection lets you control who can view specific content. This is helpful for private client pages, internal resources, or exclusive content you only want certain people to access.
Setting a password for a page
1. In the left sidebar menu, go to ![]() Website
Website![]() Pages
Pages
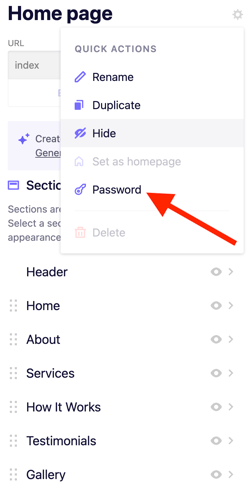
2. Click on the gear icon ![]()
Password.
3. Enter your password under New password, then confirm it.
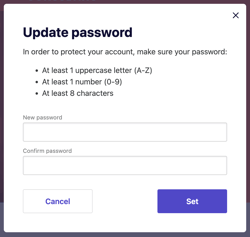
4. Click Set.
5. Click Publish in the top right corner to update your live website.
Once published, visitors will be required to enter the password before they can access the page.
Changing a password for a page
1. In the left sidebar menu, go to Website > Pages. Select the page that you would to password protect.
2. Click on the gear icon ![]()
Password.
3. Click Update.
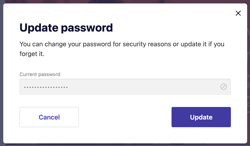
4. Click Continue.
3. Enter your new password, then confirm it.
4. Click Set.
5. Click Publish in the top right corner to update your live website.
Tip: If you want to create automated password protected pages for leads or clients, or if you need customer sign in features, you will need a third party tool. Many B12 customers use Membershipworks, which can be embedded into your B12 site.