|
Written by: Madeline B. Last updated: 16 Dec., 2025 |
This feature requires the Basic Subscription or above. View plans and pricing here. |

A sitewide integration or tracking code can be used for many purposes, such as adding a chat widget, installing Google Tag Manager, or connecting marketing and analytics tools.
Adding a sitewide integration or tracking code
A sitewide integration or tracking code can be implemented on your site for a variety of reasons—including adding a chat integration, adding a Google Tag manager, etc. To add a sitewide integration or tracking code you simply follow the steps outlined below:
1. In the left sidebar, click ![]() Website
Website![]() Settings
Settings
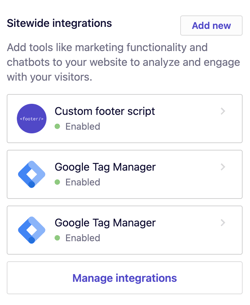
2. Next to Sitewide integrations, click Add new.
3. Choose the best option for your specific integration. For most tracking codes, choose the
Head tag option.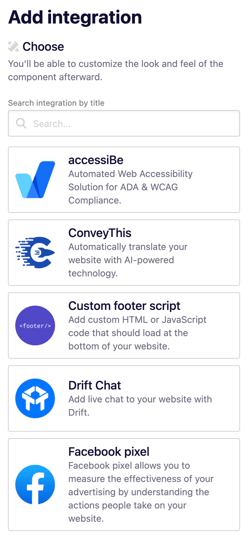
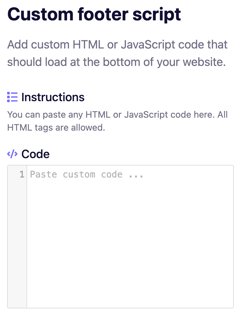
4. Paste your integration code in the Code box.
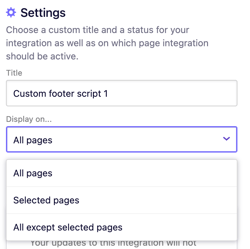
5. Give your integration a title or choose the pages where your code should be displayed.
6. Click Add integration.
7. Click Publish to update your live website with your changes.
Enabling or disabling a sitewide integration
If you want to temporarily disable an integration without deleting it, or re-enable one that is currently turned off, you can update its status.
1. In the left sidebar, click ![]() Website
Website![]() Settings
Settings
2. Under Sitewide integrations, find the integration you want to manage and select it.
3. Use the Status dropdown to select Enabled or Disabled.
 4. Click
 Save.
5. Click Publish in the upper right corner to make your changes live.