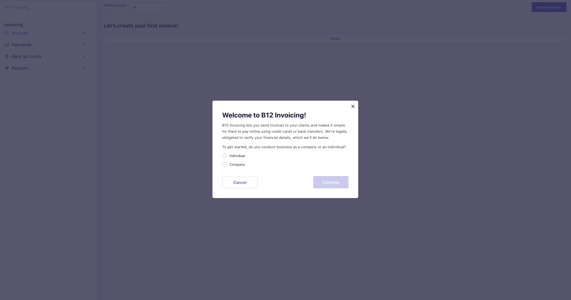
Adding a bank account to Payment & Invoicing
Connect your bank account to begin collecting payments from clients.
 Written by Madeline B.
Last Updated: 3 Sep., 2025 |
B12 Payments & Invoicing is currently only available to users located in the United States. |
Before sending invoices, you’ll need to connect a bank account to receive client payments.
Note: The steps below only need to be completed once. After this, you're all set to start sending invoices.
Setting up your first bank account
1. Log in to the B12 Editor and click Payments and Invoicing

2. Click Add banking details .

Note: If you do not see this button, follow these instructions to edit your business address and include the US as your Country.

3. Through our payment partner, Stripe, complete the verification process:
-
Provide your identifying information and bank account details
-
Your business address must be a valid U.S. street address (P.O. boxes are not accepted).

Once verified, you’re ready to send invoices and receive payments.
Adding a new bank account
If you have already connected a bank account and need to add a new one:
1. In Payments and Invoicing
Bank accounts.
2. Click Add new bank account.
2. Enter your account details and click Confirm.