|
Written by: Madeline B. Last updated: 16 Dec., 2025 |

You can edit images directly within the B12 Editor using built-in tools to crop, rotate, reposition, apply filters, and add metadata like captions and alt text.
Cropping an image
1. In the left sidebar, go to ![]() Website
Website![]() Pages
Pages
2. Select the page and section containing the image you want to edit, then scroll to:
-
Image for standard images
-
Background media for background images
-
Collection for collection items such as products, services, team members, blog posts, image galleries, video galleries, or testimonials
-
If the image is part of a collection, select the specific item first.
-

3. Click Edit.
4. Select Crop image.

5. Select the area you would like to crop the image to on the right.

6. Once you have that selected, click Crop selection.

The cropped image will appear on the preview pane. Feel free to adjust cropping if needed.

7. Click Save.
8. When you’re done customizing, click Publish in the upper-right corner to save your changes and update your live website.
Changing image position
1. In the left sidebar, go to ![]() Website
Website![]() Pages
Pages
2. Select the page and section containing the image you want to edit, then scroll to:
-
Image for standard images
-
Background media for background images
-
Collection for collection items such as products, services, team members, blog posts, image galleries, video galleries, or testimonials
-
If the image is part of a collection, select the specific item first.
-
3. Click Position.
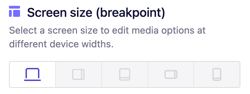
4. Under Screen size (breakpoint), choose a screen size to preview how the image appears on different devices.
5. Under Image position and options, adjust how the image displays.
You can toggle between Scale image to fill the container and Tile image across the container.
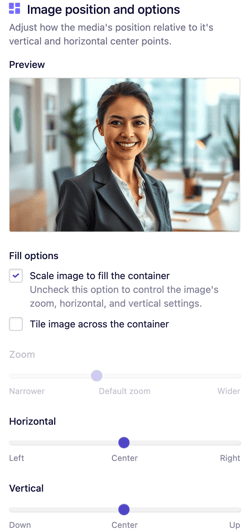
By default, images are set to Scale image to fill the container. If part of the image is cut off, uncheck this option, then use the Zoom, Horizontal, and Vertical sliders to position the image exactly how you want it.
6. When you’re done customizing, click Publish in the upper-right corner to save your changes and update your live website.
Editing image metadata
1. In the left sidebar, go to ![]() Website
Website![]() Pages
Pages
2. Select the page and section containing the image you want to edit, then scroll to:
-
Image for standard images
-
Background media for background images
-
Collection for collection items such as products, services, team members, blog posts, image galleries, video galleries, or testimonials
-
If the image is part of a collection, select the specific item first.
-
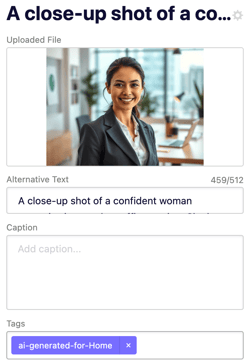
3. Click Metadata.
4. You can enhance accessibility and SEO by adding:
-
Alternative text – Describes the image for screen readers.
- Caption – Displayed text below your image.
-
Tags – Used to organize and manage media in your library.
5. When you’re done customizing, click Publish in the upper-right corner to save your changes and update your live website.
Replacing an image
1. In the left sidebar, go to ![]() Website
Website![]() Pages
Pages
2. Select the page and section containing the image you want to edit, then scroll to:
-
Image for standard images
-
Background media for background images
-
Collection for collection items such as products, services, team members, blog posts, image galleries, video galleries, or testimonials
-
If the image is part of a collection, select the specific item first.
-
3. Click Replace.
4. Choose one of the following options:
- Library: This lets you upload your own media. Click
Upload media, select your image, then clickContinue. Uploaded files are stored in your Library for future use.
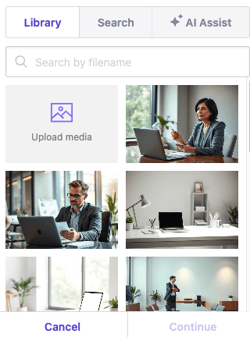
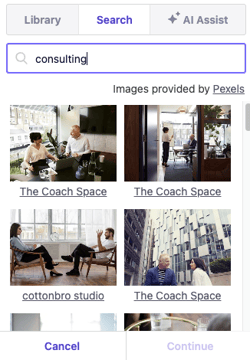
- Search: Use free, open-license images from Pexels. Type a description in the Search free photos field, select your image, then click
Continue.
- AI Assist: This allows you to generate an AI image that fits your vision. Enter a description in the Image description field, choose a type and style, then click
Generate.
 5. Click
 Continue.
6. When you’re done customizing, click Publish in the upper-right corner to save your changes and update your live website.