|
Written by: Meredith Last updated: 11 Dec., 2025 |
You can set up a recurring invoice series that begins automatically when a client submits a form on your website. This is useful for memberships, subscriptions, or ongoing services where clients select their own items.
Creating a recurring invoice
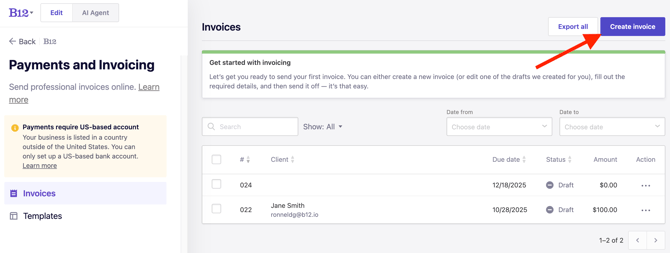
1. In the left sidebar menu, go to .![]() Payments and Invoicing
Payments and Invoicing
2. Click Create Invoice.
A preview appears on the right while you customize details on the left.
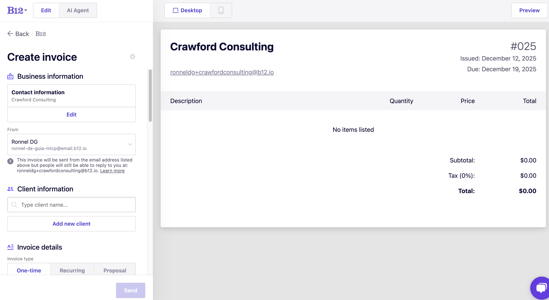
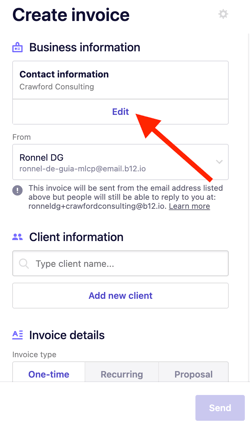
3. To update the business information shown under From, click Edit.
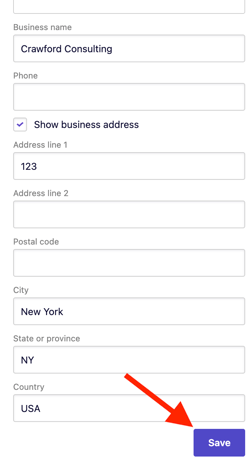
Click Save.
4. Under Invoice details, set the invoice to Recurring.
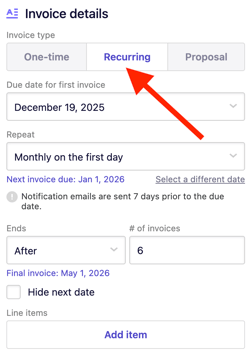
5. Choose the due date for the first invoice, how often invoices repeat, and when they should stop.

Note: You do not need to add line items. The client will select services when submitting the form.
6. Optional: You can edit the default email that will be sent to your client, or set Next Steps. Follow this article for those settings.
7. Take note of the invoice number in the top right corner as you will need this when attaching the invoice to the form. Click .![]() Back
Back
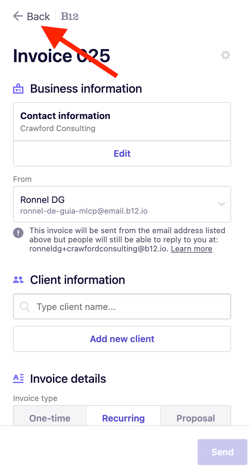
Your invoice is saved automatically.
Triggering a recurring invoice
1. In the left sidebar menu, click ![]() Website
Website![]() Pages
Pages
If you need to create a new form instead of using an existing form, follow these steps.
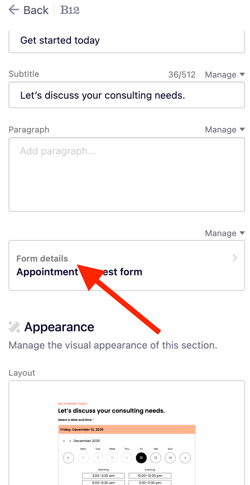
2. Click on the form, then select Form details.
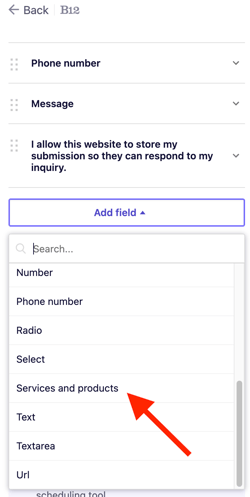
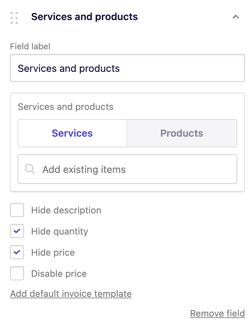
3. Click Add fields, then select Services and products.
4. Click the new Services and products field to expand it.
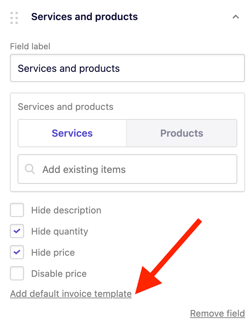
5. Click Add default invoice template.
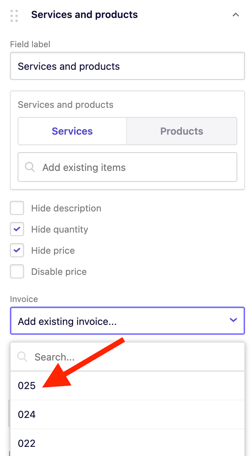
6. Click Add existing invoice, then choose the recurring invoice you created.
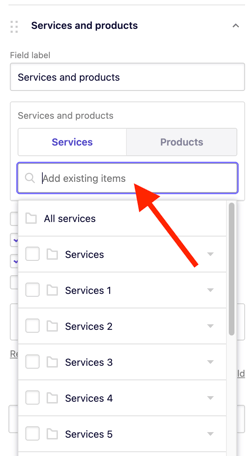
7. Add the services or products you want the customer to purchase by clicking Add existing items and searching for the services.
8. Click Preview and complete a test submission to confirm the form triggers the recurring invoice correctly.
9. Click Publish when everything is working.