|
Written by: Ronnel DG Last updated: 10 Sep., 2025 |
.png?width=60&height=60&name=Untitled%20design%20(23).png)
A newsletter signup section is a form that captures a visitor’s contact information, typically their email address, so you can send them marketing emails. This helps you grow your audience and stay connected with clients.
Adding a newsletter signup section
1. On the left sidebar menu, click ![]() Website
Website![]() Pages
Pages
2. Select the page where you want to add your newsletter signup section, then click Add section.
.png?width=250&height=250&name=Untitled%20design%20(18).png)
3. Click Newsletter Signup Form.

4. Choose your preferred section layout, then click Continue.
Customizing your newsletter signup section
You can adjust your newsletter signup form to match your business needs. To start, click Form details in the section editor. From here, you can customize the form content, automated emails, and what happens after a visitor subscribes.
.png?width=250&height=250&name=Untitled%20design%20(19).png)
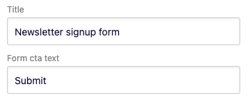
Contact form settings
-
Title: The heading of your signup form (e.g., “Subscribe to our newsletter”).
-
Form CTA text: The text on the signup button (e.g., “Sign up” or “Join now”).
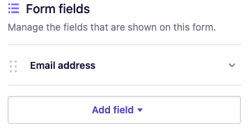
Form fields
Click Add field to request more information, such as name or address. For best results, keep it short and always include an email field.
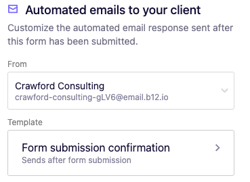
Automated emails to your client
-
Sender email: Choose which email address appears as the sender.
-
Template: Enable or disable the default template. You can edit the subject line and the message sent to new subscribers.
Automated emails to you
-
From address: Choose which email address appears when you receive form notifications.
-
Recipients: Add CC (Carbon Copy) or BCC (Blind Carbon Copy) addresses if you want others to receive notifications.
-
Template: Enable or disable the default template. Customize the subject and message to fit your workflow.

Next steps
-
Success message: Write a message that displays after the visitor submits the form (e.g., “Thanks for subscribing!”).
-
Next step : Decide what should happen after submission. Options include:
-
Show a confirmation message
-
Direct the visitor to another form
-
Send them to a scheduling page
-
Redirect them to a specific URL or file
-
