|
Written by: Jay D. Last updated: 15 Jul., 2026 |

You can edit images directly within B12 using built-in tools to crop, rotate, apply filters, and add metadata like alt text.
Editing an image
-
In the left sidebar, select
.svg) Visual edit
Visual edit - Click the image you want to edit. A settings panel appears in the left sidebar.
- Click
Edit. - Make your changes (crop, flip, rotate, or filter), then click
Save. - Click
Saveagain to update your site with the new image.
Cropping an image
-
After opening the image editor (see above), select
Crop image. -
Select the area you would like to crop the image to on the right.

-
Once you have that selected, click
Crop selection.
The cropped image will appear in the preview pane. Feel free to adjust cropping if needed. -
Click
Saveto store the new image, then clickSaveto update your site.
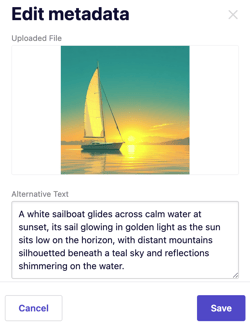
Editing image metadata
-
In the left sidebar, select
-
Click the image you want to edit. A settings panel appears in the left sidebar.
-
Click
Metadata. -
Enhance accessibility and SEO by adding Alternative (Alt) text, which describes the image for screen readers, then click
Save.
Replacing an image
-
In the left sidebar, select
-
Click the image you want to edit. A settings panel appears in the left sidebar.
-
Click
Replace. -
Choose one of the following options:
- Library: Choose an image you uploaded previously or upload a new image. To upload, click
Upload media. Select your image, then clickContinue. All uploaded files are stored in your Library for future use. ClickSaveto update.

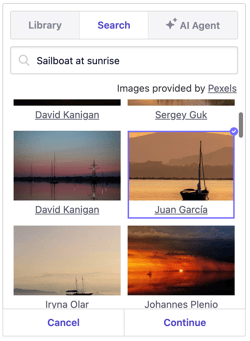
- Search: Use free, open-license images from Pexels. Type a keyword in the Search free photos field, select your image, then click
Continue. ClickSaveto update.
- AI Agent: Generate an AI image that fits your vision. Click Ask AI Agent to generate an image. Type a detailed description of your image, starting with Generate an image of... then click the up arrow
 . The AI Agent will automatically create a new image and replace the previous one.
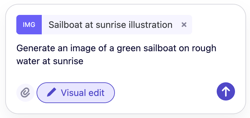
Note: Generating an image with the AI Agent uses AI credits.