|
Written by: Katelyn Gray Last updated: 18, Nov., 2025 |
|
This feature requires the Basic Subscription or above. View plans and pricing here. |

B12’s email forwarding feature lets you create custom business email addresses that automatically forward messages to your personal inbox.
Setting up a custom email address
1. In the left sidebar menu, go to ![]() Website
Website![]() Domains
Domains
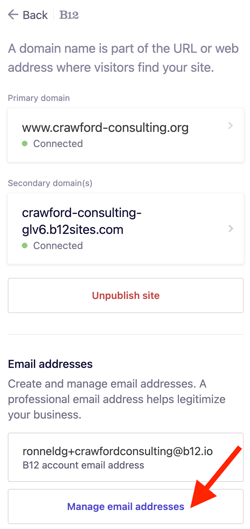
2. Click Manage email addresses.
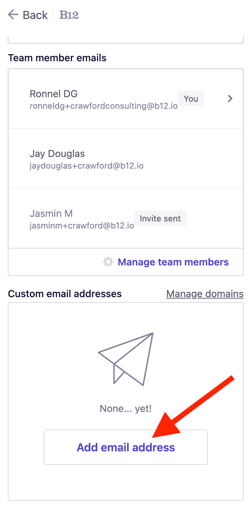
3. Under Custom email addresses, click Add email address.
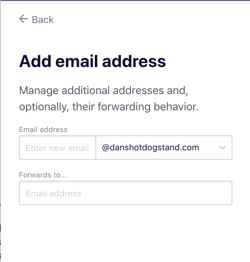
4. In Email address pane, type in your custom email’s local-part, which is the part of an email address that comes before the @.
Here are some common local-part examples for business domains:
-
- your-first-name
- your-full-name
- info
- contact
- hello
- support
- sales
- help
- press
5. In the Forwards to... field, enter the personal email address where you’d like to receive forwarded emails.
6. Click Save.
We recommend testing email forwarding by sending an email to your new custom email address (e.g., contact@yourdomain.com).
You should then receive it in your personal inbox.
Note: B12 currently offers an email forwarding feature, not an email sending feature. Your personal email address will be displayed as the reply-to email address unless you update your Gmail settings.