Adding and importing contacts to B12’s Contact Manager
Learn how to import contacts or add them manually to keep your client list organized.
|
Written by: Katelyn Gray Last updated: 19 Nov., 2025 |
|
This feature requires a Client Engagement seat. |
Stay organized by managing your contacts directly in B12. You can add existing contacts in two ways: importing them in bulk or entering them manually.
Importing contacts
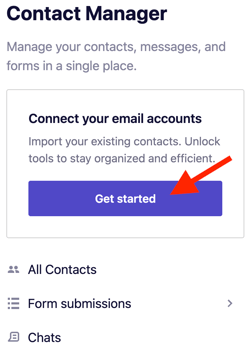
1. In the left sidebar, go to . Contact Manager
2. Click Get started.

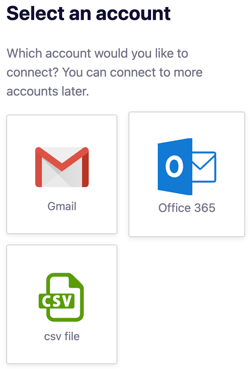
3. Choose how you’d like to import your contacts: Gmail, Office 365, or CSV file.

If importing from an email account, click your provider, then click Connect.
If importing from a CSV file, click csv file, then upload your file.
-
-
Your CSV must include an email column.
-
You may also include columns such as name and phone.
-
For an example file and additional guidance, check this article.
-
Adding a contact manually
1. In the left sidebar, go to . Contact Manager
2. Click Get started.

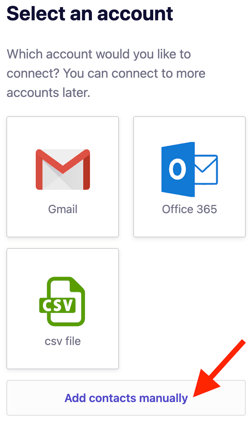
3. Click Add contacts manually.

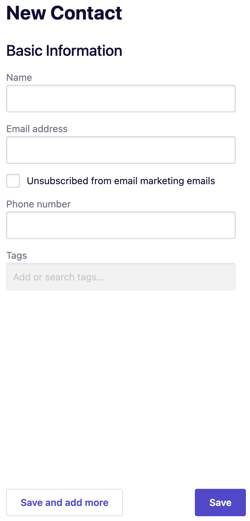
4. Enter any available details for the contact—name, email, phone number, and optional tags to help with organization.

5. Click Save and add more or Save.
The Contact Manager automatically merges duplicate contacts that share the same email or phone number.
Contacts are not merged based on name alone, ensuring you don’t accidentally combine different individuals with the same name.
