|
Written by: Katelyn Gray Last updated: 03 Oct. 2025 |
This feature requires at least one Client Engagement seat. View plans and pricing here. |

Automated emails let you stay connected with your clients without manual effort. You can always edit, pause, and re-enable automated emails in the B12 Editor so your communication always stays accurate and up to date.
Editing automated emails
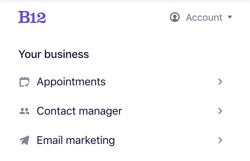
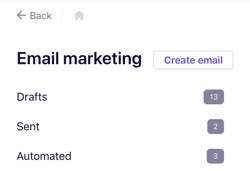
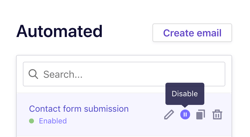
1. To see all of your active automated emails, click ![]() Email marketing
Email marketingAutomated.
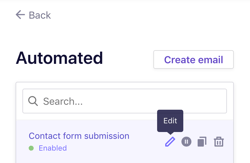
2. You can easily edit enabled automated emails without disrupting the automation. To make changes to an enabled automated email, click the pencil icon ![]() next to the email you want to edit.
next to the email you want to edit.
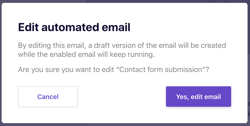
3. A confirmation message will appear. Click Yes, edit email.
4. Make the changes you’d like. You can also send a test email to preview the update.
5. When you’re happy with your edits, click Enable automation, then with Yes, enable automation.
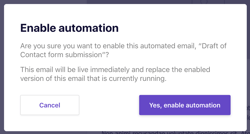
Your updated version will replace the enabled version of this email that you're currently using.
Managing automated emails
- Drafts
- Drafts of automated emails appear under Your business > Email marketing > Drafts and Automated under Your business > Email marketing > Automated

- Pause
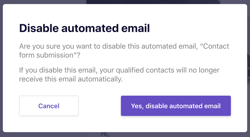
- To disable an automated email, click the pause icon
⏸, then confirm withYes, disable automated email.
- To disable an automated email, click the pause icon
-
-
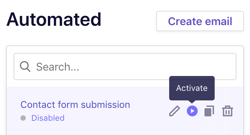
- Disabled emails remain in your Automated list.
-

- Activate
- To re-enable an automated email, click the play icon
▶next to it.
- To re-enable an automated email, click the play icon
FAQ
What’s the difference between Automated Email Marketing emails and Form submission confirmation emails?
In B12, both are automated emails, but they serve different purposes:
-
-
Form submission confirmation emails
-
Sent immediately after someone submits a form on your website.
-
Can include smart tokens, such as the actual content of the submission (e.g., name, message, selected services).
-
Typically used to reassure the visitor that their message or signup was received.
-
-
Automated Email Marketing emails
-
Sent based on triggers you define in the Email Marketing section of the B12 Editor (e.g., a welcome sequence, follow-up reminders, or engagement campaigns).
-
Allow for more advanced design and formatting options, including images, card-style sections, and social media links.
-
Cannot include submission content from a form.
-
-