|
Written by: Jay Douglas
Last updated: 27 Jan., 2026 |
|
This feature requires the Basic Subscription or above. |

There are two ways to publish your website on a custom domain:
-
Purchasing a new domain through B12’s registrar partner, IONOS.
-
Connecting an existing domain that you already own.
Purchasing a new domain
1. In the left sidebar menu, go to ![]() Domains
Domains
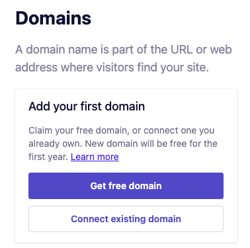
2. If this is your first domain, click Get new domain (free!).
.png?width=250&height=259&name=image%20(19).png)
3. Enter your desired domain name and click Check to choose from available domains through our registrar partner, IONOS.
.png?width=250&height=91&name=image%20(13).png)
4. Once you've chosen your preferred domain name, click Add to cart > Continue.
.png?width=250&height=129&name=image%20(15).png)
.png?width=250&height=186&name=image%20(16).png)
5. B12's Promo Code will be applied to make your first year total $0. Click Continue to complete your domain registration with IONOS by creating an account or logging in with an existing IONOS account.
.png?width=250&height=148&name=image%20(17).png)
Note: You must provide a credit card at checkout to renew your domain registration with IONOS next year.
.png?width=250&height=172&name=image%20(18).png)
Once your purchase with IONOS is complete, B12 will automatically connect your new domain to your website, as well as set up Email Sending & Email forwarding if you selected that option.
Tip: If your new domain does not appear in your account after you are redirected back to B12, refresh your browser tab and return to your Domains section to verify the connection.
Important: IONOS may require additional verification through email to continue with your domain registration, so be sure to look out for any important email communication from IONOS after your purchase.
Connecting an existing domain
1. In the left sidebar menu, go to ![]() Domains
Domains
2. Click Connect existing domain.
3. Enter your domain, starting with www.
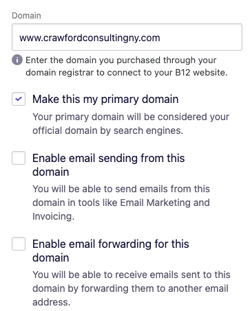
- Check off Make this my primary domain if you want this domain considered your official domain by search engines. We accomplish this by automatically adding a canonical tag to all pages of your website pointing to your primary domain.
If you have a Client Engagement seat, you can also set up email forwarding or email sending. If you want to add Client Engagement, upgrade here!
- Check Enable email sending for this domain if you want to be able to send emails through B12, but you are using another email service to receive emails. See more information here.
- Check Enable email forwarding for this domain if you would like to create a custom email address. See more information here.
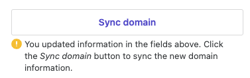
4. Click Sync domain.
5. Click Continue so that B12 can automatically detect your domain provider and prompt you to log in to the account to manage your domain settings. Then, log in to your domain provider's account.


B12 will automatically update your domain's DNS values to connect your B12 website.

Note: It may take a few hours for your Domain to show as Connected in the Editor, and it may take 24-48 hours for your B12 website to appear on your domain.
Manually editing your domain's records in your domain registrar
If the automatic connection steps did not work for you or if your domain provider is not available for automatic connection, follow the steps in this article to manually edit your DNS records and connect your domain.
Each domain registrar formats domain records differently. Below are two examples of different formats:

Additional help:
Editing your DNS settings can be tricky, so email hello@b12.io for additional assistance, or take a screenshot of the Domain Setup Instructions in the B12 Editor and email it to your domain registrar's customer support team.