Adding multiple locations to a footer or contact section
Learn how to display more than one business location in your footer or contact sections.
|
Written by: Madeline B. Last updated: 13 Dec., 2024 |
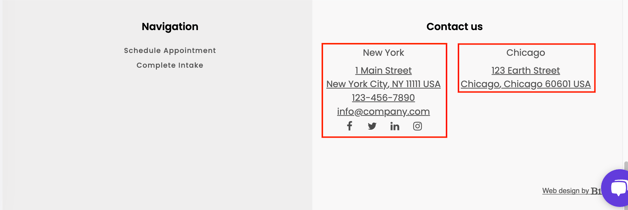
You can display multiple business locations on your website by adding additional contact information items. These can appear in your footer or in any contact section layout that supports location details.
Adding multiple locations to footer
1. In the left sidebar, click Website
Pages
Home > Footer.
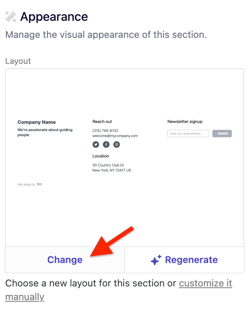
2. Scroll to Appearance then click Change.
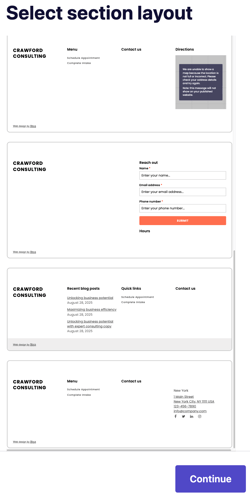
3. Select a layout that shows location details, then click Continue.
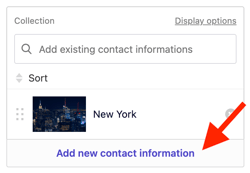
4. Scroll to Collection, then click Add new contact information.
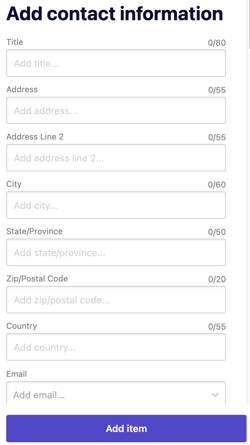
5. Enter the contact information for the location, then click Add item.
The new location will appear automatically in the editor preview.
6. Click Publish to make your changes live.
Adding multiple locations to a contact section or page
1. Go to your contact form, scroll to Appearance, then click Change.
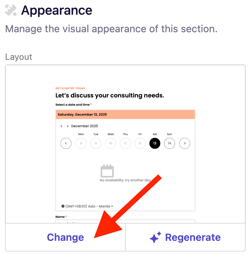
2. Select a layout that includes location details, then click Continue.
3. Scroll to Contact informations, then click Add new contact information.
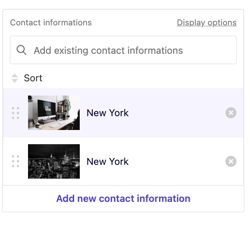
4. Enter the contact information for the location, then click Add item.

The new location will appear automatically in the editor preview.
5. Click Publish to make your changes live.

