|
Last updated: 31 Oct., 2025 |
Once you’ve confirmed your time zone, connected your calendar, set your availability blocks, and created appointment types, you can add scheduling functionality to your website. You can either add an appointment field to an existing form or create a dedicated scheduling page.
Adding an appointment field to a form
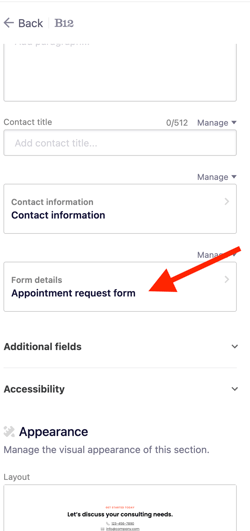
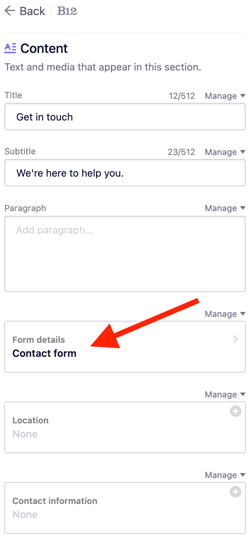
1. In the B12 Editor, locate the Contact Form you want to update. Click the section to open its settings in the left sidebar, then scroll to Form details and click it.
Tip: If you want to add a Contact Form page or section, follow these instructions.
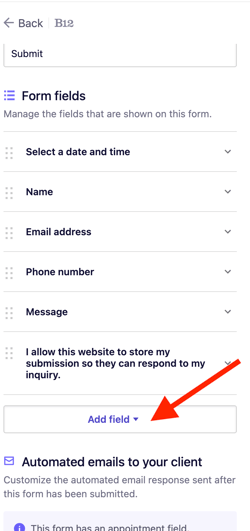
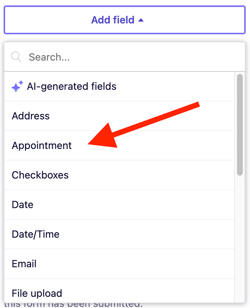
2. Click Add fields.
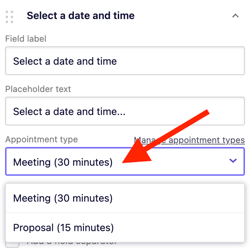
4. Click the newly added field, open the Appointment type dropdown, and select the appropriate appointment type.
5. Click Publish so your live website reflects this change.
Once published, the appointment field will appear on your contact form, and visitors will be able to schedule appointments directly through your website.
Adding a scheduling page
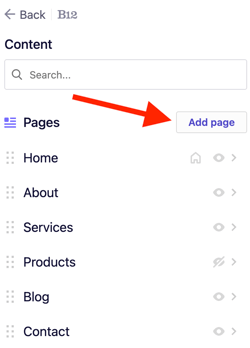
1. From the left sidebar, click Website > Pages.
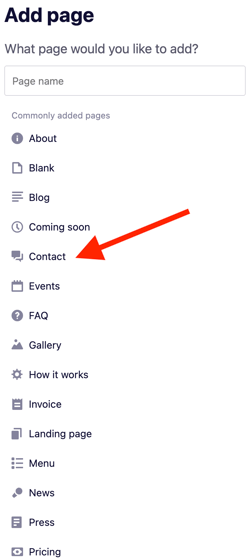
2. Click Add page.
4. Click Form details.
5. Under Select a date and time, choose an Appointment type.
6. Scroll to Next steps.
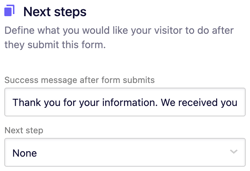
The Next steps setting lets you control what happens after a visitor completes an action, such as scheduling an appointment. You can also customize the Success message after submission field.
Select a next step from the dropdown menu:
-
- None - stay on the same page and only display the success message
- Complete a form - go to the selected form.
- Schedule an appointment - go to the selected scheduling form. Note: This action is not recommended for this tool.
- Make a payment - go the the selected checkout page
- Redirect to another page - go to the specified section/ page/ URL/ media
Make sure to provide the next step details by specifying the target, such as Add form / Add scheduling form / Add payment details / Add redirect.
7. Click Publish to make your updates live.
If you’d like to add this scheduling page to your website’s navigation, follow these instructions for adding, editing, and deleting navigation links.
Note: When you add a scheduling page or scheduling field to a form, B12 automatically creates an Appointment Cancellation page.
Do not edit or delete this page, as it can cause errors in the editor.
Additional notes
-
Editing an appointment: When an appointment is rescheduled, the contact form must be filled out again.
-
Cancelling an appointment: Clients can cancel appointments using the cancellation link in their confirmation email or from the availability calendar view.
For a more complete guide fully detailing all aspects of the Scheduling tool, please take a look at our online scheduling guide.