Creating a lead magnet form with a downloadable resource
Learn how to collect visitor information and redirect them to a file or link after submitting your form.
|
Written by: Jay Douglas Last updated: 09 Dec, 2025 |
A lead magnet helps you share valuable content with visitors in exchange for basic contact information. This can include a PDF, guide, checklist, template, video, or any resource worth downloading. To encourage submissions, keep your form short. Longer forms can deter visitors from completing them.
Adding your lead magnet form
1. To get started, either create a new page for the lead magnet, or add a contact from section to a page where you would like to include it.
2. Customize the contact form to collect the information you want. (for example: Name, Email Address, Phone Number).
Seting a Next step
You can control what happens immediately after a visitor submits your form. This is where you add the redirect to your downloadable resource or link.
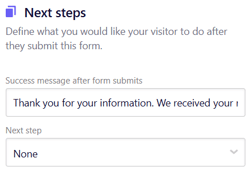
1. Open the contact form section and scroll to Next steps.
2. Edit the Success message after form submits if you want to display a custom confirmation message.

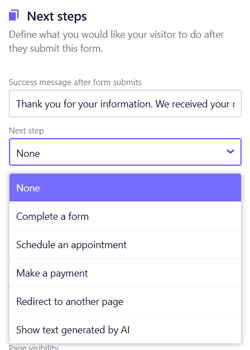
3. Under Next Step, select Redirect to another page.

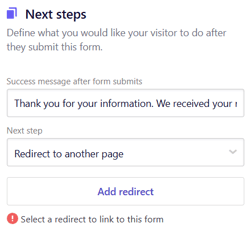
4. Click Add redirect.

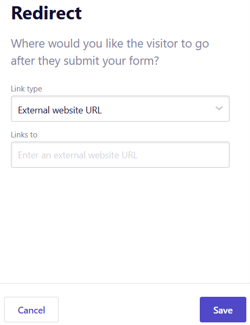
5. Under Link type, choose one of the following:
-
External website URL -
Media file(recommended for downloadable PDFs and documents)

If using an external URL
-
-
Under Links to, enter the full URL (including https://).
-

-
-
Click
Save.
-
If using a media file
-
-
Click
Choose from libraryto select an existing file, or clickUpload mediato add a new file.
-

-
-
-
Click
Save.
-
-
Visitors who submit the form will automatically be redirected to the link or file you selected.
Creating and enabling an automated email
Note: Available on Professional and Advanced plans only.
You can also send an automated email after form submission. This email can include:
-
A thank-you message
-
The downloadable resource
-
Additional links or details
To set up your email, follow the instructions in this article: composing and sending automated emails with B12's Email Marketing.
