|
Last updated: 07 Oct., 2025 |
You can use the B12 Editor to edit your AI Draft and add your content and copy. The B12 Editor is also where you’ll update your website once it’s launched.
Before you get started:
- All changes in the B12 Editor save automatically — no need to click save.
- If you make a change you don’t like, you can restore a previous version of your site.
- For the best experience, use a laptop or desktop. You can edit from a phone or tablet, but a larger screen makes it easier to see and adjust your design.
Getting to know the B12 Editor
The B12 Editor has two main areas: the left sidebar and the right editing pane.

The left sidebar is where you can manage and edit everything related to your B12 website. From here, you will see the Edit and AI Agent pane.
The Edit panel gives you access to menus for customizing your site, payments and invoicing, and other tools.

The AI Agent panel lets you ask for help with tasks like adding sections or pages, regenerating content, or answering questions. You can also attach files to prompts.

Here's an introductory video on using the AI Agent:
The right editing pane shows a live preview of your website as you make changes. This is where you can see your edits take shape in real time.

When you click ![]() Website
Website![]() Pages
Pages
Editing Your Website
Click ![]() Website
Website![]() Pages
Pages

Understanding Your Website’s Structure
Websites are an organized set of one or more pages. Some of these pages will be linked in your header, also known as the navigation menu, helping visitors move around your website.

Pages are made up of individual sections. You can build and organize your website by adding pages, creating sections within those pages, and then adding page links to your header.
Editing sections
Edit existing sections on your website to rewrite placeholder copy, add images, or make other changes.
To edit a section, select the page you wish to edit from the navigation menu, then click on the section you want to work on in the website preview. The Edit panel will appear on the left side.
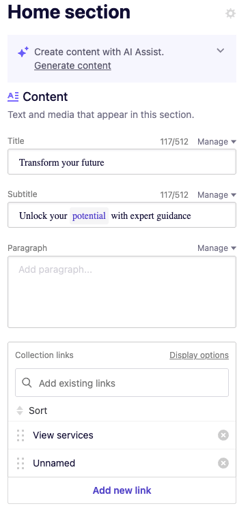
Editing text
1. Click the section with the text you want to edit.
2. Edit the text in the corresponding textbox in the left sidebar.

Editing text in the textbox is similar to editing a Word doc. You can delete, replace, and style the text however you want.
B12 offers an AI content generator to make creating content easy. Visit our article on generating text with AI assist to learn more.
Replacing images
You can upload your own images or choose from thousands of stock images in the B12 Editor.
1. Click the section with the image you want to replace.
2. In the left sidebar, under Appearance, click Replace.

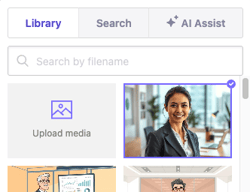
- To use an image you own, click
Upload media, select the image file from your computer, and clickContinue.
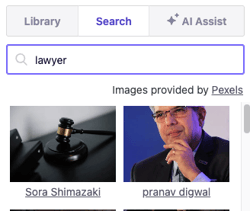
- To use a stock image, click
Search, search for an image by subject, select an image, then clickContinue.
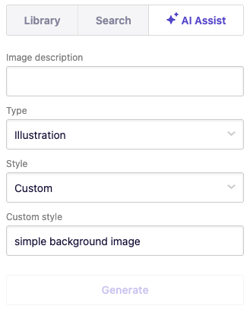
- To create a new image with AI Assist, click
AI Assist, enter a short description, choose the type and style (or set a custom style), clickGenerate, then clickContinue.
You can either preview or publish your website.
-
Preview - Creates a link to your website that is hidden from public view. You can share this link with friends or colleagues to show edits you’ve made without publishing these changes to your live website. Note that preview button will only appear if you have published your website once.
-
Publish - Makes your website preview live and findable online. Publish every time you make edits you want everyone to see.
Here are some more helpful articles to help get you started:
Adding pages and sections
Changing the style of your site
Want to hire an expert? No time to build a website on your own? You can have one of B12’s designers build your website for you. To learn more, click here to schedule your demo call.